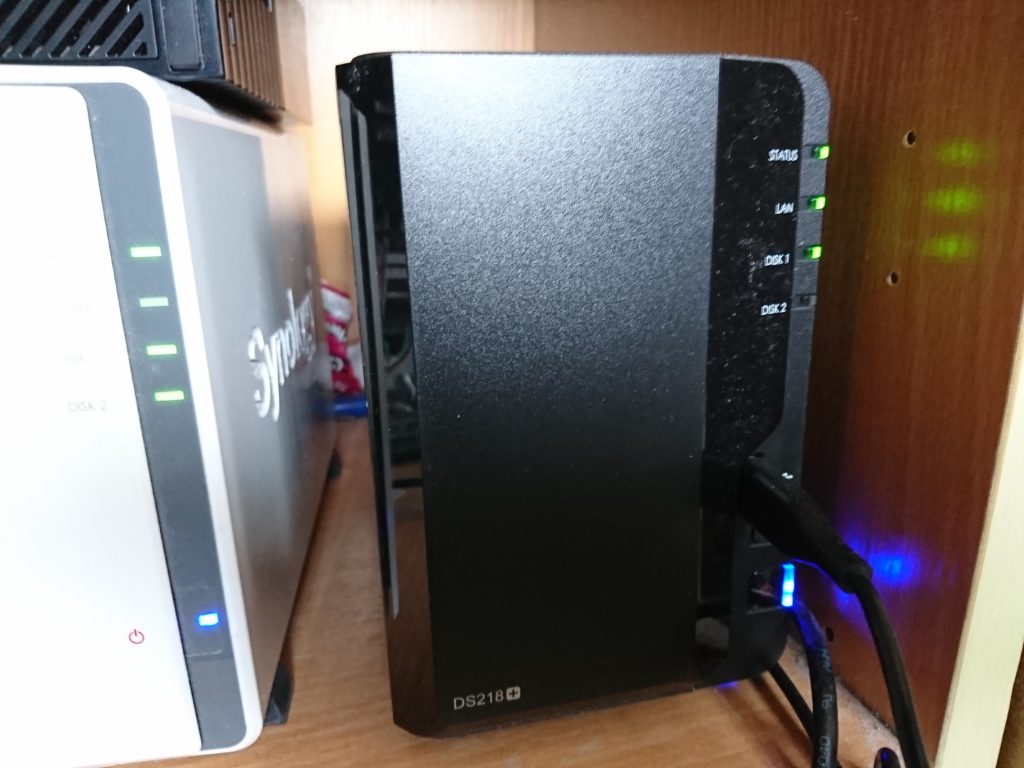
Recently I had the chance to aquire a Synology DS218+ NAS drive. I’ve had a DS216j for quite a few years – this beast has not missed a beat in over three years, constantly spinning its 3Tb drives for 24 hours a day.It’s been a web server, SFTP server,email server… download / torrent box. It’s been a very good servant. but recently, it’s been showing its age, especially when trying to use some of the built-in apps on it, such as the gallery, so I decided to get an updated model.
I could have went with another make, but when this beast has been so good to me, it felt wrong to stray away, so I went for a DS218+ with a 12tb Seagate Ironwolf drive.
It arrived a couple of weeks ago, and it’s currently spinning away next to the old DS216j.
One thing that drove me towards that model is that it was upgradeable – or at least the RAM is. It comes with 2Gb built in, but the blurb on the website said you could get a memory expansion for it. It could go up to 6Gb. Cor! I had a feeling this would be a custom memory module, and probably more expensive than normal RAM, so I thought I’d just update it if and when I needed it.
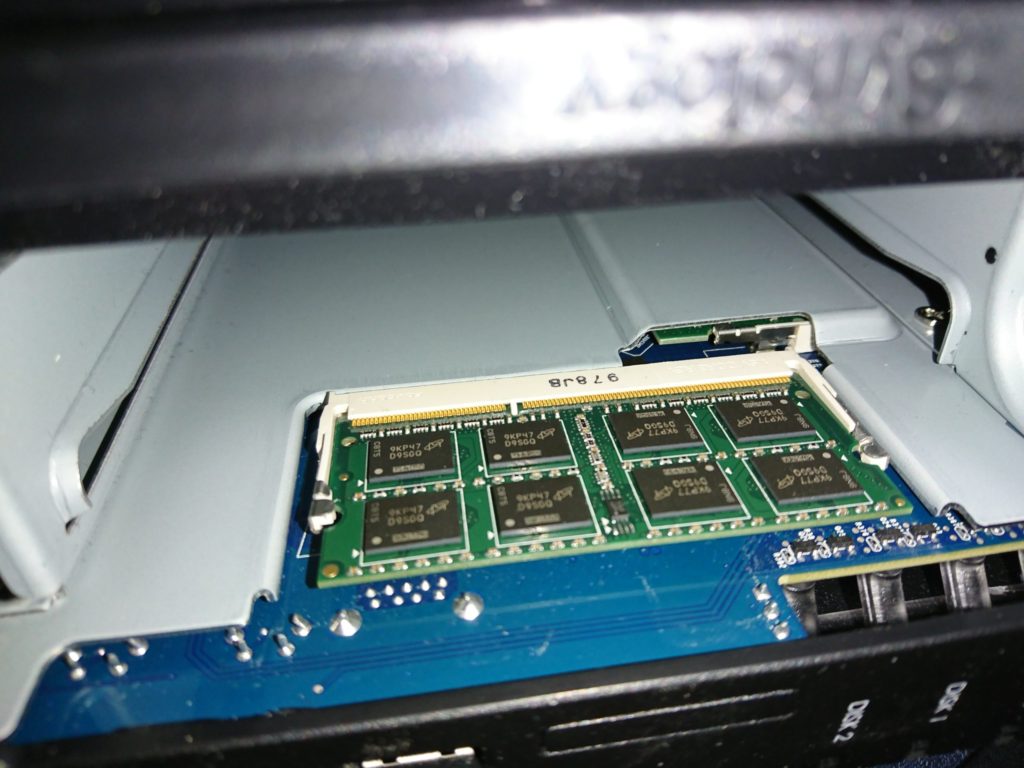
After it arrived, and while fitting the drive, I noticed the RAM expansion looked particularly “normal”, just like a standard laptop DIMM socket. I did a bit of digging around and yep, it takes normal DIMMs. Hurrah! In fact the article I was reading suggested you could get a larger memory module such as an 8Gb one, and it’ll work fine. So, I got it.
It arrived at Mercuryvapour Towers just a few moments ago. So, how easy is it to fit? Oh, very. For some reason, I thought this would be a little more involved but it really isn’t.
The memory I opted for is… “Crucial CT102464BF160B 8 GB (DDR3L, 1600 MT/s, PC3L-12800, SODIMM, 204-Pin) Memory”. It set me back just under £30, but looking at the prices on amazon today, it’s gone up to £34.
Anyway, shut down the device. Slip off the front cover, and remove the right drive bay. Under this, you will see a white DIMM socket. Slide in the memory module (with the notch on the left hand side), and youll hear the levers click. Just the same as any other RAM module really.
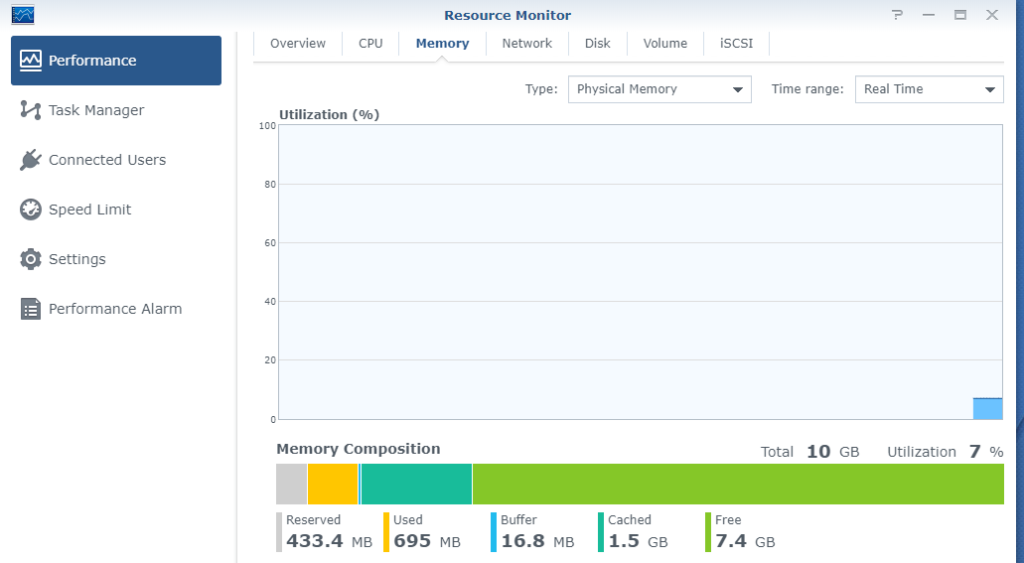
I booted it back up, and confirmed it did indeed read 10Gb. It was all a lot easier than it sounded in my head.
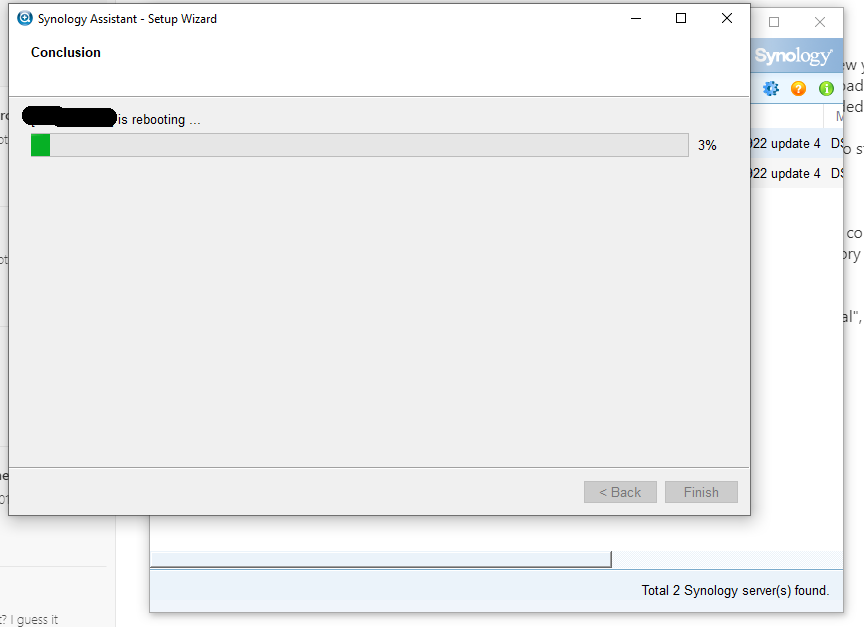
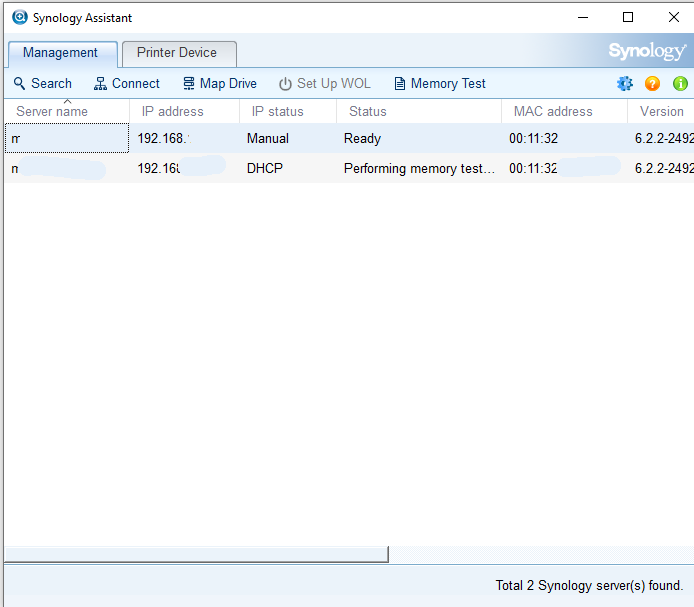
Finally, the last step is to perform a memory test on the device This isn’t something you can do from inside the NAS operating system – instead, you have to download the Synology Assistant software. Download, install and run it. Select your NAS drive, click the cog button in the top right, and click “Perform Memory Test”. Go back out to the device list, and you’ll now see a “Memory Test” button. Press this, and it’ll warn you that this will take time to perform the memory test, and that’s going to reboot the machine…
The software will report that the device is “Performing Memory Test”, and the power light on the NAS drive will constantly flash orange. Unfortunately, there’s no progress monitor, so I have no idea how long will be left. At the time of typing, it’s up to about 90 minutes. If you’re going to do this, I’d recommend doing it when you’re not planning to use the device. (EDIT: It took just under 4 hours to complete the memory test)
No doubt some of you are wondering if you can update the 2Gb that’s already built into the device? Apparently, yes, you can. It’s just another memory module. Unfortunately, it’s inaccessible without fully dismantling the device, so you have to question whether it’s even worth doing at all. 10gb should be enough for a NAS drive under any circumstance… it’s more than what’s in most perfectly serviceable PCs.
EDIT: I was doing some thinking about what the whole point of 10Gb would be, and I think I’ve found it. Virtual machines. I’m actually typing this right now on a virtual machine that’s running of the NAS drive. I’m currently running a bare, yet serviceable Linux Mint installation from it. Something which I don’t think would be possible with my previous NAS drive. This could be fun!
